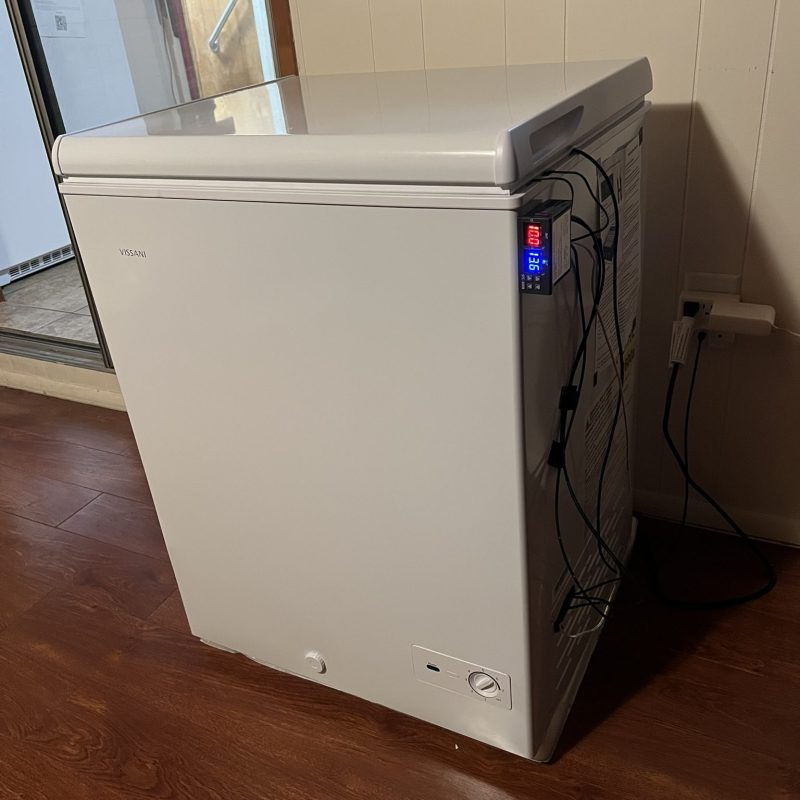
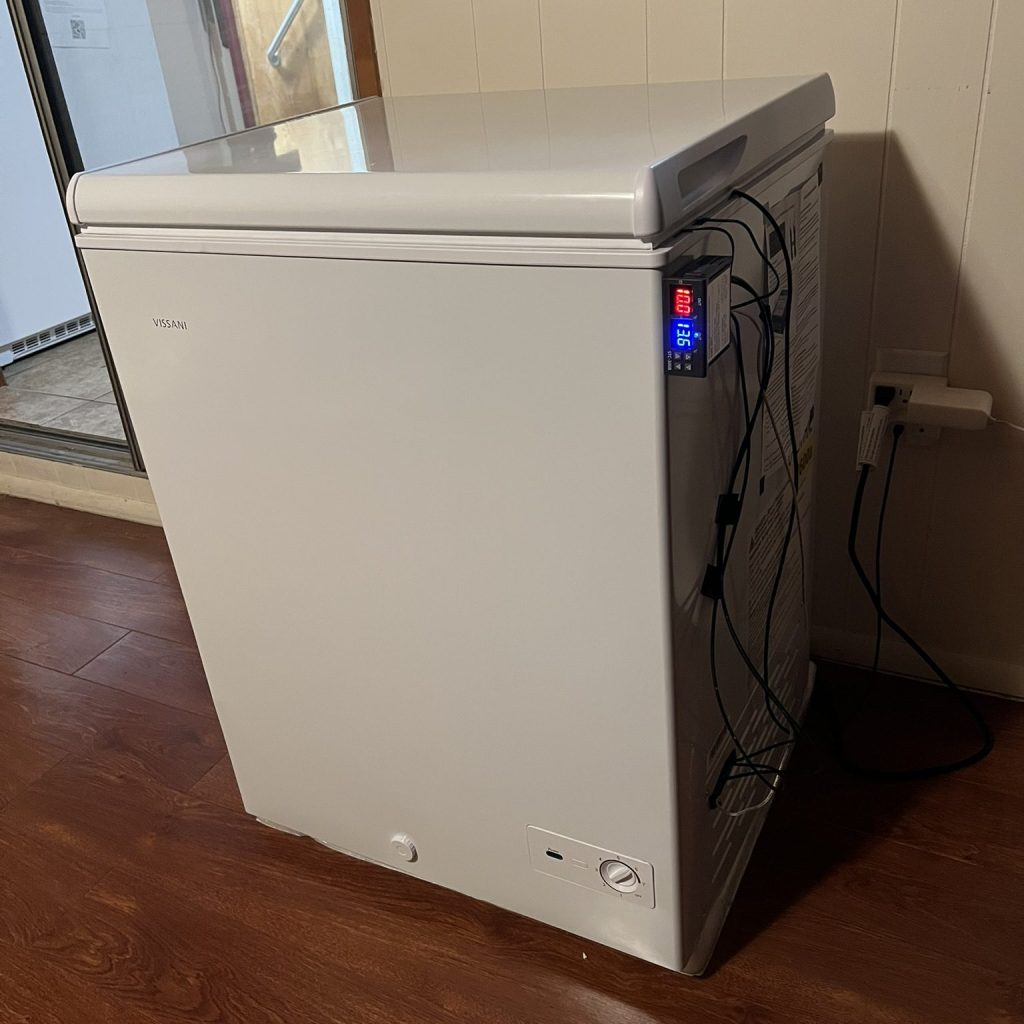
Here I’ll go through the steps I took to convert an off the shelf chest freezer into a wine fridge. The total cost for this fridge was around $250, but you can certainly do better with some shopping around. These are the materials you’ll need:
- Chest Freezer – The cheaper the better I would say. I avoided getting something with any kind of internet/IoT functionality for the simplicity of my modifications
- Temperature controller w/ probes – I used an STC-3008, though I only used one channel on it. Here’s an amazon link
- Wiring – I used 12awg, but 14awg is the standard for 120AC 15A
- Connectors – either wire nuts, or (as I prefer) the newer WAGO lever nuts
In addition, you’ll likely want a multimeter, wire cutters, and wire strippers.
And a word of warning: EXERCISE CAUTION WITH 120AC POWER! There isn’t anything too scary in the fridge I opened, but be careful around capacitors, and be certain not to touch live conductors.
Planning your circuit
The basic concept for your fridge is to form a circuit with your 120AC, the temperature controller, and your fridge’s compressor. Here’s a high level diagram. The temperature controller is wired in series with your line and will complete the circuit when your fridge should run.

Here is the original circuit from my freezer’s label

The component labeled SAT is the thermostat build into the freezer, in my case it is a small dial on the front of the freezer. By cutting the RD and BK wires, and splicing in the temperature controller, your new circuit will be good to go. Here are those wires marked in yellow on my freezer:
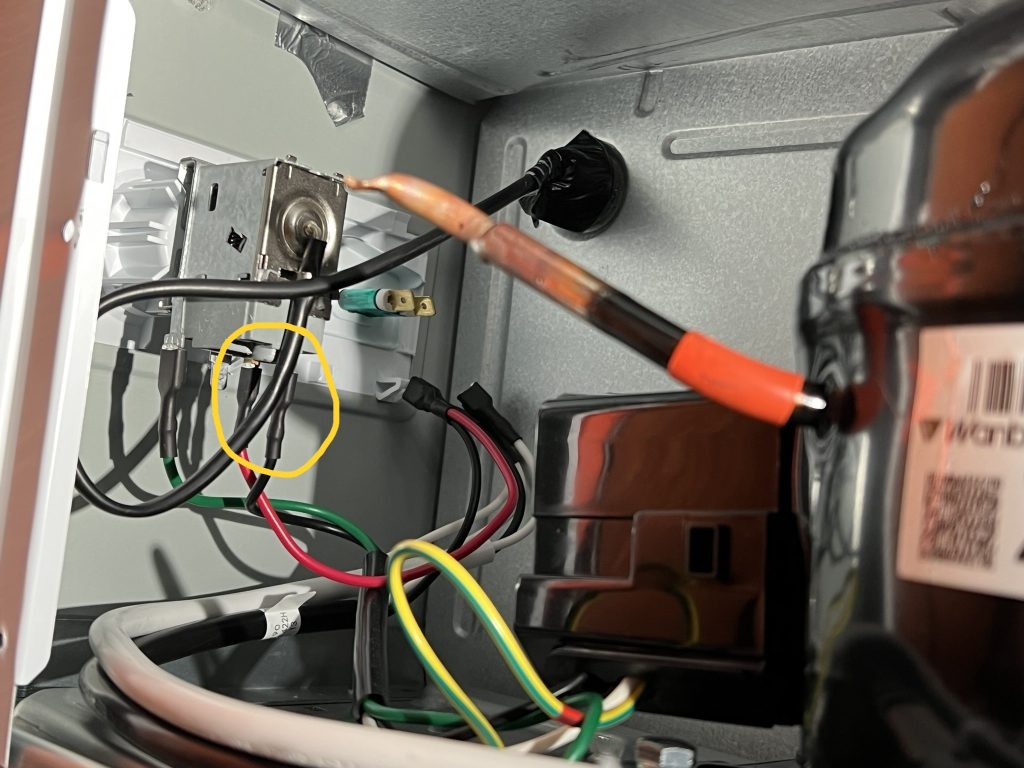
Just reference the wire colors, and double check that they’re connected to the compressor. If you have your multimeter handy you can check the continuity.
One thing to note, you will actually have four connections to the controller. There are the two connections from live and the compressor, then a separate live and neutral to actually power the controller. Your controller’s guide will have more details on the wiring you need.
Temperature Probe
There are two different schools of thought with wine cellar temperature sensors: air temperature, and a bottle probe. I chose to use a bottle probe because it’s exotic! Simply fill an empty bottle with water, drop in the probe, and cork the top.
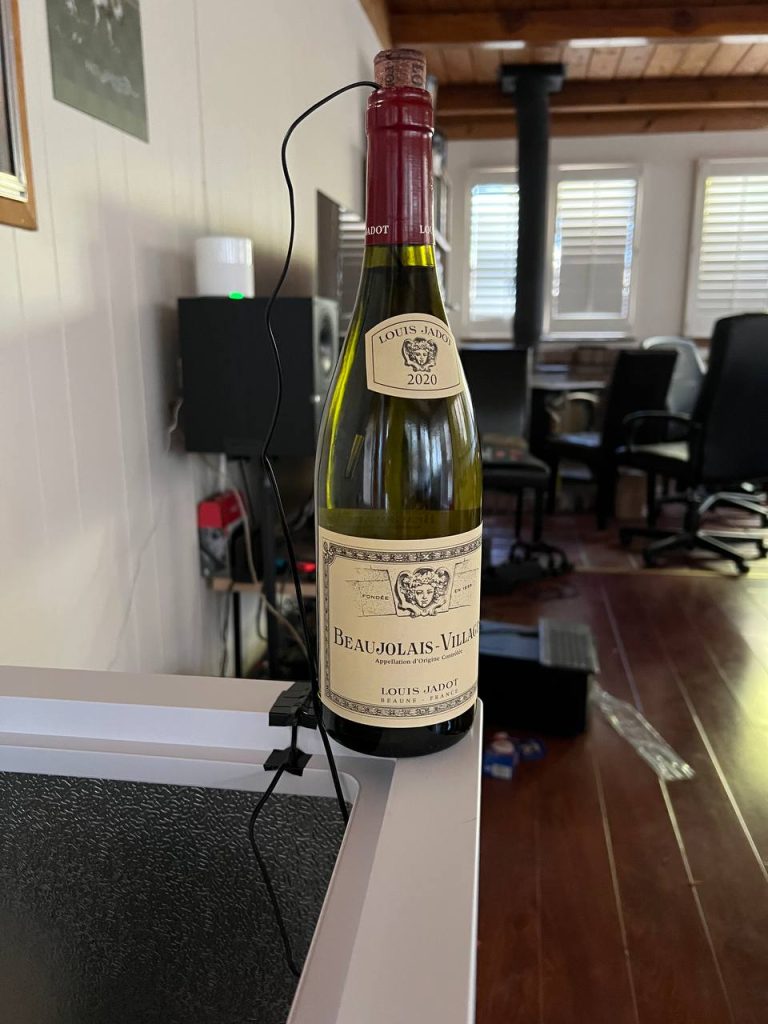
Your temperature controller should have the option for a minimum temperature, maximum temperature, and a compressor delay. The “optimal” temperature for wine storage is debated, but many people take 55 to 60F as a rule of thumb. A reasonable compressor delay is in the range of 5 to 20 min.
Wrapping up
With your circuit set up and your probe ready, you’re good to power on the freezer. It’s a good idea to baby the fridge for a handful of hours to make sure the compressor is cycling properly. I’ve added some temperature logging hardware to my fridge, here is the temperature variation from the last handful of days on my fridge.
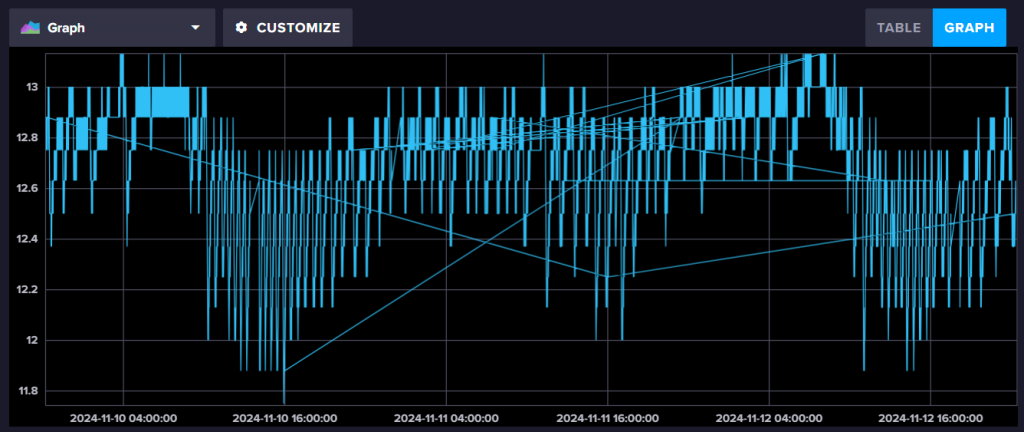
Don’t mind the random lines, something is off with my logging.
